OCTOBER 1, 2025 – Progressive Insurance has long entertained us with a brilliant ad campaign featuring the fictitious “Dr. Rick,” who conducts seminars to help new homeowners avoid turning into their parents. Of course, we Boomers, especially, laugh at these vignettes because they remind us of ourselves—and our parents.
Today while working on the cabin project with which my readers have become all too familiar, I thought about how I’ve “become my dad.” The difference between my circumstances and the ones posed in the Progressive ads, however, is that in the case at hand, I’m quite happy to be “channeling Dad.”
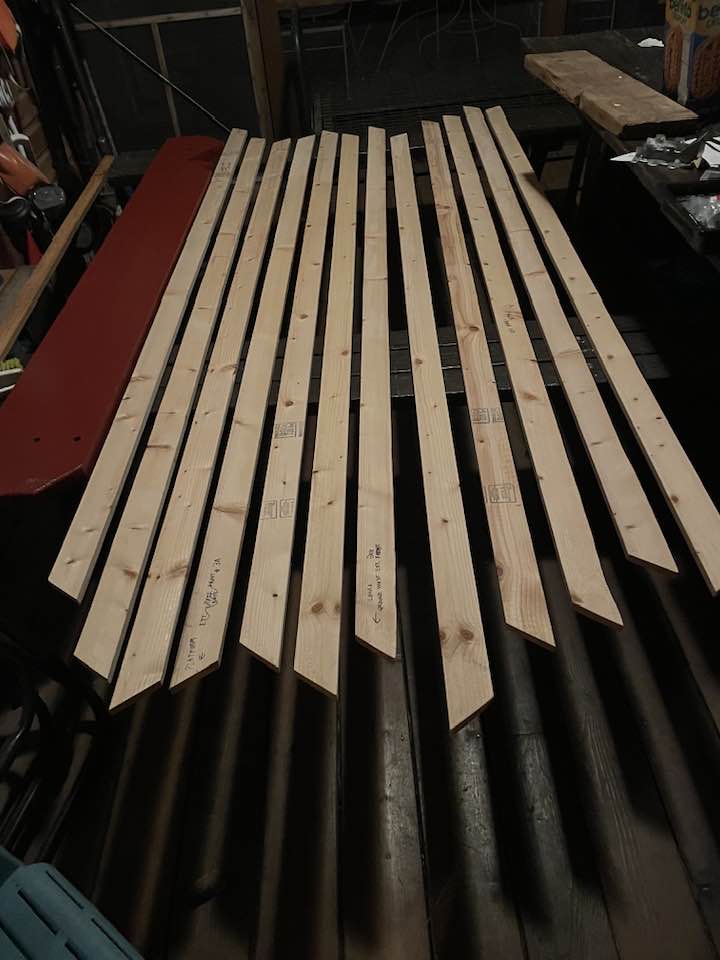
What triggered the connection was my day-long work on 16 one-by-three furring strips that I’m adapting to the guardrails along the “Grand Staircases” to the . . . “Pergola-on-a-Platform.” To fulfill my design requirements, I had to divide the strips into two sets of eight a piece, one set shorter than the other, then mark and make a total of 32 angle cuts. As with every repetitious task within a cabin project, I looked for patterns and efficiencies and hoped to develop a satisfactory “system” at least by the time I’d reached the halfway mark. Today’s effort ran into some snags that interrupted my stride. I gave myself a C+ but elevated it to a B- after completing the paint priming part of the task, wherein efficiency was more easily realized.
“Furring strips,” for the uninitiated and non-DYIers, are rough strips of lumber used in a non-structural capacity in construction, often as nailers for finished wall coverings. Usually cut from plantation pine, furring strips are not premium wood. Most contain some obvious flaw.
For my project—a structure sited way up in the tree garden of Björnholm, far from civilization—I don’t need premium lumber for the mostly decorative role to be filled by my 32 furring strips. The impetus for the project, remember, was to deploy all the odd lot lumber I’d accumulated over the years both at home and here at the Red Cabin. My ever-expanding design, however, has required supplemental lumber, including 120 linear feet of one-by-three boards. I had no need for expensive wood planed and sanded—nicely finished. Instead, I picked through the furring strip inventory at Menards and paid a tad over just two bucks (before my 11% rebate!) “per stick” (an 8-foot length).
The drawback to using furring strips is that they need to be worked over; sanded, preferably with an electric sander, so that once painted they won’t look too rough. On Monday I went straight to work at this, but after sanding 16 strips with the power tool, my hand and wrist felt weird, as if they were still vibrating. I recalled the grandfather of one of the kids at Byron’s Taekwondo dojang who suffered permanent nerve damage from his occupation as a jack-hammer operator. I had no desire to stumble down that route, so for the rest of my furring strips, I used the old-fashion method: manual sanding with a sanding block.
Soon I was in my groove. With my left hand I’d turn a furring strip on its side and hold it against an 8-foot two-by-six cedar plank lying across the sawhorses. With the sanding block in my right hand, I’d make three up-and-down passes on the edge of the strip. I’d then make a couple more passes on each side of the edge to round it off. Next, I’d work over each side of the furring strip by sanding off patches of rough grain.
It was during this sanding operation when I quite naturally channeled Dad. My work with the furring strips reminded me of Dad’s “furring strip project” inside the old cabin of Björnholm down the way from the Red Cabin. I laughed out loud with amusement, as my thoughts drifted back to the old cabin on a warm late August day 25 years ago . . . (Cont.)
Subscribe to this blog and receive notifications of new posts by email.
© 2025 by Eric Nilsson